As an Amazon Associate, we earn from qualifying purchases. Some links may be affiliate links at no extra cost to you. Although our opinions are based on curated research, we haven't used these products. Articles generated with AI.

What Are The Best Video Tutorials For Jalousie Window Repair?

When it comes to jalousie window repair, we’ve found excellent video tutorials to assist you. For clip repair techniques, VideoJoeShows provides clear guidance. Slow Lane Feat Dub focuses on rivet replacement, explaining how to use standard drill bits like 9/64 inches for removal. Mrs. Rattlecan’s House offers solutions for hinge and pivot issues. These resources will help you identify signs of needed repairs and apply lubrication techniques. If you need more detailed information, keep exploring our recommendations.
Key Takeaways
- Look for video tutorials that focus specifically on common repair needs such as glass replacement and hardware issues like crank handles and gearboxes.
- Seek channels that provide detailed step-by-step instructions for repairing misalignment and damaged slats, ensuring smooth window operation.
- Explore videos demonstrating the effective use of essential tools like pop rivet guns and sealants within various repair contexts.
- Find tutorials that emphasize proper lubrication and cleaning techniques to prolong the lifespan of jalousie windows and improve performance.
- Check for user reviews and ratings on video tutorials to ensure quality, clarity, and helpfulness in the repair process.
Overview of Jalousie Window Repair Needs
Common Repair Needs
Many of us face several main challenges with jalousie windows, including:
- Glass Panes: Breakage is common; replacing individual slats takes care and precision.
- Hardware Issues: Crank handles and gearboxes often wear out. Finding matching parts guarantees proper functionality.
- Misalignment and Slats: Damaged slats can obstruct movement and may require replacement or realignment.
- Accumulated Dirt: Tracks can gather grime, so regular cleaning and lubrication can enhance operation. Additionally, using high-quality aluminum for replacement components ensures longevity and performance during repairs.
VideoJoeShows: Clip Repair Techniques
You may be interested
Jalousie windows require careful attention, especially when it comes to repairing clips. VideoJoeShows offers clear guidance on clip replacement strategies. To start, we’ll need tools like a pop rivet gun, cutters, and lubricants such as WD-40. This makes removing damaged clips easier, while also preserving the surrounding components.
Using a specialized repair kit is essential for reinforcing or replacing broken clips. VideoJoe demonstrates the steps to securely attach a new or repaired clip. We can apply the riveting techniques he highlights, ensuring every rivet fits snugly. Additionally, performing regular checks on window parts for wear and tear is crucial to maintain functionality and prolong the lifespan of your jalousie windows.
After completing our repairs, we should operate the window multiple times. This confirms that everything works smoothly, ensuring the jalousie window functions as it should.
Slow Lane Feat Dub: Rivet Replacement Guide
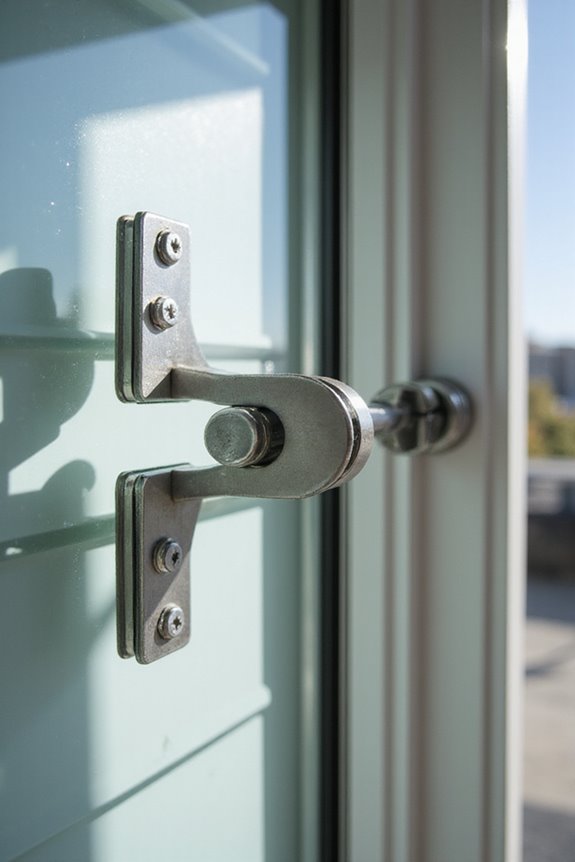
Replacing rivets in jalousie windows is an important step in ensuring proper functionality. First, we need to focus on rivet selection strategies. Using a 9/64-inch drill bit is standard for removing old rivets. We can apply WD-40 to loosen them, making removal smoother.
When it comes to rivet installation techniques, we align the new rivets with existing holes. Modified pop rivets may require trimming for a snug fit. It’s vital that rivets allow free rotation, ensuring smooth operation of window mechanisms. Always remember to clean the surrounding areas before installation to avoid debris interfering with functionality. Regular maintenance, such as lubricating moving parts, will keep our jalousie windows functioning effectively, extending their life and performance. Additionally, ensuring the use of high-quality materials can significantly enhance the durability and functionality of the repair.
Mrs. Rattlecan’s House: Hinge and Pivot Solutions
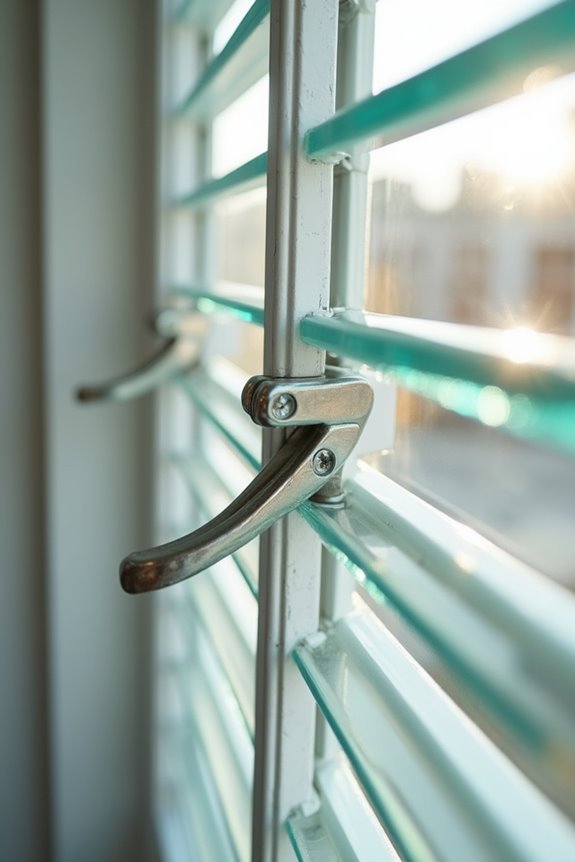
To guarantee ideal operation of jalousie windows, addressing hinge and pivot solutions is crucial. We start by inspecting the pivot points, as they’re often the source of troubles, especially for Mrs. Rattlecan’s vintage windows. If you find the panes hard to operate or unstable, it’s likely due to corrosion.
For effective pivot maintenance, use penetrating lubricants like WD-40 to loosen stuck pivots. Regular lubrication of all pivot pins and linkages is essential for smooth operation. Repairing failed pivot pins can be done by applying custom-sized pop rivets and re-aligning the glass pane holes after installation. This simple task can take just minutes and will greatly extend the life of your jalousie windows. Additionally, ensuring that you use tempered glass for replacements can further enhance durability and performance. Regular checks and maintenance guarantee they function well for years.
Comprehensive Restoration Processes
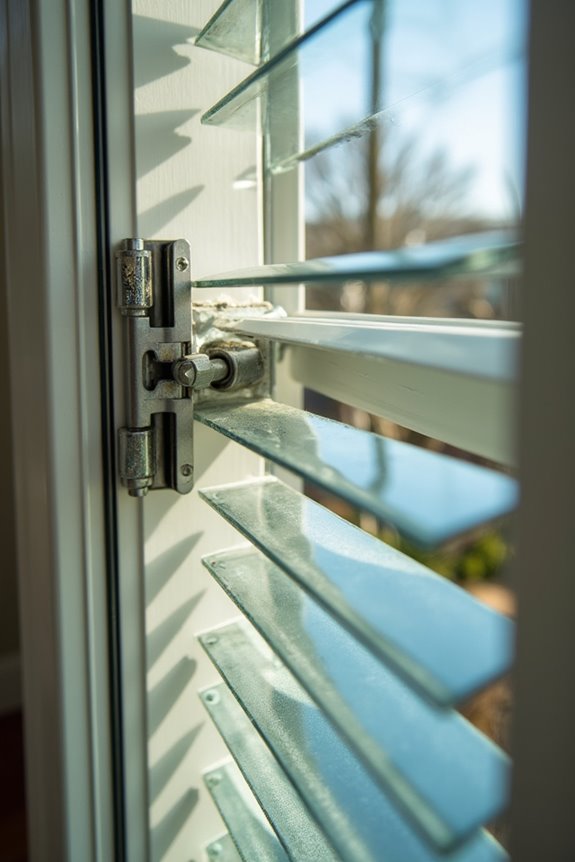
Restoring jalousie windows requires careful attention to detail and methodical processes. First, we need to focus on cleaning methods. Thoroughly cleaning hardware parts like crank handles and tracks prevents long-term issues. Individual glass panes should be cleaned one at a time to maintain clarity.
Next, when it comes to replacement strategies, we assess any damaged components. Broken hardware should be replaced with manufacturer-compatible parts. Using tubular rivets with specialized tools guarantees a secure fit. Additionally, ensuring the use of durable materials for replacements can significantly enhance the longevity of the windows.
Finally, as we reassemble, snugly tighten all components. Testing each window’s operation confirms smooth movement. This way, we can guarantee our jalousie windows not only look great but also function properly for years to come.
Preparing for Jalousie Window Repairs
Before we plunge into the actual repairs of jalousie windows, it’s vital to prepare thoroughly. First, let’s conduct a detailed inspection. We should look for visible damage in the frame, check the operator mechanism, and examine glass slats for any issues. Next, we need to focus on cleaning. Removing dirt from tracks and carefully wiping glass slats guarantees smooth operation.
Now, let’s discuss repair preparation through parts organization. It’s necessary to gather replacement parts like clips and slats, and important tools like screwdrivers and pliers. Additionally, a clean workspace is key for protecting our materials. Remember to wear protective gear and handle all components gently. This careful preparation will greatly aid the efficiency of our repairs, as durable materials play a crucial role in ensuring the longevity of your jalousie windows.
Recommended Tools for Efficient Repairs
With our preparation complete, it’s time to gather the recommended tools for efficient jalousie window repairs. Having the right repair tools can make our job easier and more effective.
Essential Tools:
- Screwdrivers: Both flathead and Phillips for hardware screws.
- Pliers: For gripping and replacing metal linkages and rivets.
- Wire Brush: To clean rust and debris from components.
Lubrication Supplies:
- Silicone Spray: Guarantees smooth operation of linkages.
- Cleaning Solvents: Removes dirt from window tracks.
Replacement Parts:
- Operator Kits: Compatible with most jalousie models.
- Pop Rivets: Typically 3/16” diameter for securing components.
These tools support proper window maintenance, guaranteeing smooth functionality and longevity.
Step-by-Step Clip Replacement
When we face the challenge of replacing broken clips on jalousie windows, it’s important to proceed methodically to guarantee a successful repair.
Step 1: Remove the Damaged Clip****
Begin by using appropriate cutting tools to detach clips without damaging the frame. Support the glass slats during removal.
Step 2: Install New Clips****
Get replacement clips that match your window model or a universal repair kit. Clean the surface and secure the new clip using pop rivets or screws, ensuring not to overtighten.
Step 3: Adjust Slats****
Loosen screws for slat adjustment. Align slats correctly, then gradually tighten while ensuring smooth movement.
Installation Tips: Make sure to inspect all clip types available and confirm that the alignment is correct for peak window function.
Signs Your Jalousie Windows Require Repair
Recognizing the signs that our jalousie windows need repair is essential for maintaining their functionality and aesthetics. One common issue is stiff operation; if we struggle to open or close the windows, it may signal wear in the operator mechanism. Additionally, we should look for rust indicators. Rust on tracks or hinges suggests metal degradation, which can lead to parts seizing. We must also inspect the slats for damage. Cracked or missing slats can compromise energy efficiency and curb appeal. Regularly checking fasteners and rivets is vital too. Loose or broken components create instability. Finally, dirt and debris in the tracks can hinder smooth movement, making frequent cleaning essential for proper operation.
Lubrication Techniques for Smooth Operation
Maintaining smooth operation of jalousie windows is essential for their longevity and effectiveness. We should use silicone-based lubricants for metal parts, as they resist moisture and don’t attract dirt. Avoid WD-40; it can gum up mechanisms over time. Before applying any lubricant, let’s clean the moving parts thoroughly to remove debris. Spray lubricant directly on the tracks and hinges for even coverage. Afterward, operate the windows through several cycles to distribute it. It’s wise to wipe off any excess to prevent streaks on the glass. For tight spaces, graphite powder is a great dry lubrication option. Remember, regular inspections and applying proper lubrication methods will keep our jalousie windows functioning smoothly.
Safety Measures During Window Repairs
Ensuring safety during window repairs is essential for a successful outcome. We should always equip ourselves with appropriate safety equipment. This includes safety goggles to protect our eyes from debris, cut-resistant gloves for handling sharp glass, and long-sleeve clothing to guard against cuts and chemical exposure.
It’s vital to prepare our workspace by securing the window parts, clearing tools, and maintaining good lighting. We must handle materials carefully to prevent slips.
When using power tools, inspecting them for damage is key, along with following manufacturer instructions. Finally, we should keep a first aid kit nearby and be ready to respond to any injuries promptly. Remember, injury prevention is just as important as completing the task safely.
Frequently Asked Questions
How Long Does a Typical Jalousie Window Repair Take?
We’ve found jalousie window repairs can seem to drag on forever, but typically, repair timeframes range from 30 minutes to over 4 hours, depending on the complexity and the condition of those pesky replacement parts!
Can I Repair Jalousie Windows Without Professional Help?
Yes, we can definitely repair jalousie windows without professional help. With some DIY techniques, we can tackle common issues like misalignment or worn parts, ensuring our windows function smoothly and look great again.
What Types of Jalousie Windows Are Most Common for Repairs?
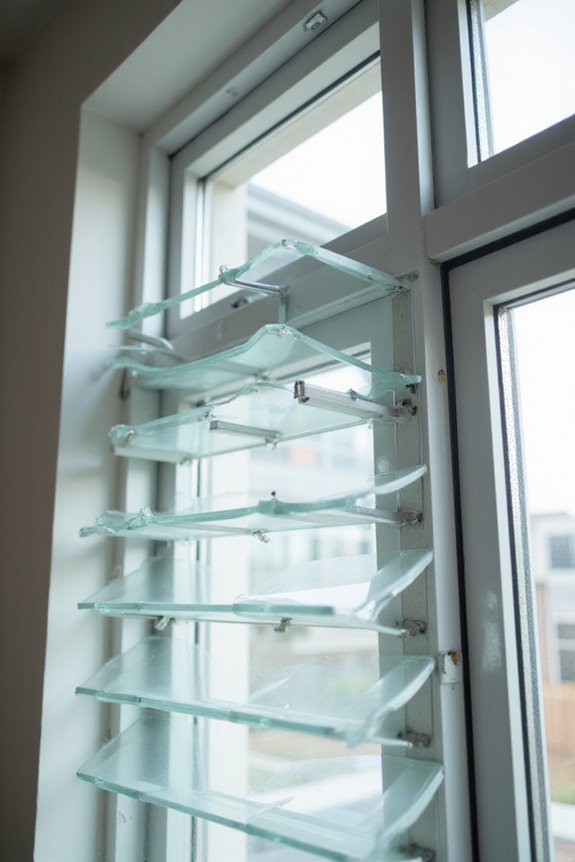
We often find that glass slat jalousie windows are the most common types needing repairs. These can present various repair component issues, especially with frames and moving parts, but we’re here to help guide you through!
Are There Any Warranties on Repair Kits or Parts?
Like a safety net beneath a tightrope walker, warranty details on repair kits give us peace of mind. We should always check them, ensuring our repairs are protected against unexpected mishaps and manufacturing defects.
How Do I Maintain Jalousie Windows After Repairs?
To maintain our jalousie windows after repairs, let’s regularly clean them with mild soap, follow maintenance tips like lubricating moving parts, and inspect for wear. Together, we can make certain they stay functional and beautiful for years!